Most leather sofa damage can be repaired at home. Light scratches can often be buffed out or touched up with color, small tears are closed with a backing patch, filler and colorant, and loose or wrinkled seats are usually fixed by refilling the cushions. Peeling bonded leather and a broken frame are the main exceptions, where a professional or a replacement makes more sense.
Below, each problem is covered in turn, along with how to tell when a repair is no longer worth it.
Key points
- Identify the leather first. Aniline, protected (pigmented) and bonded leather each need a different repair method.
- Light scratches on aniline leather often disappear with gentle buffing and a little conditioner. Protected leather needs filler and colorant.
- Tears are repaired from behind with a backing patch and flexible adhesive, then filled and colored in thin layers.
- Peeling bonded leather can be disguised but not truly fixed, because the surface coating is coming away from its base.
- Puddling (loose, wrinkled leather on cushions) usually means the filling has shrunk, so the fix is more filling, not stretching the leather.
In this guide
- First, identify the damage and the leather
- How to fix scratches and scuffs
- How to repair a tear or hole
- Fixing peeling and flaking leather
- Fixing loose, wrinkled or puddling leather
- Fixing a sagging leather sofa
- How to restuff leather sofa cushions
- DIY or professional, repair or replace?
- Frequently asked questions
First, identify the damage and the leather
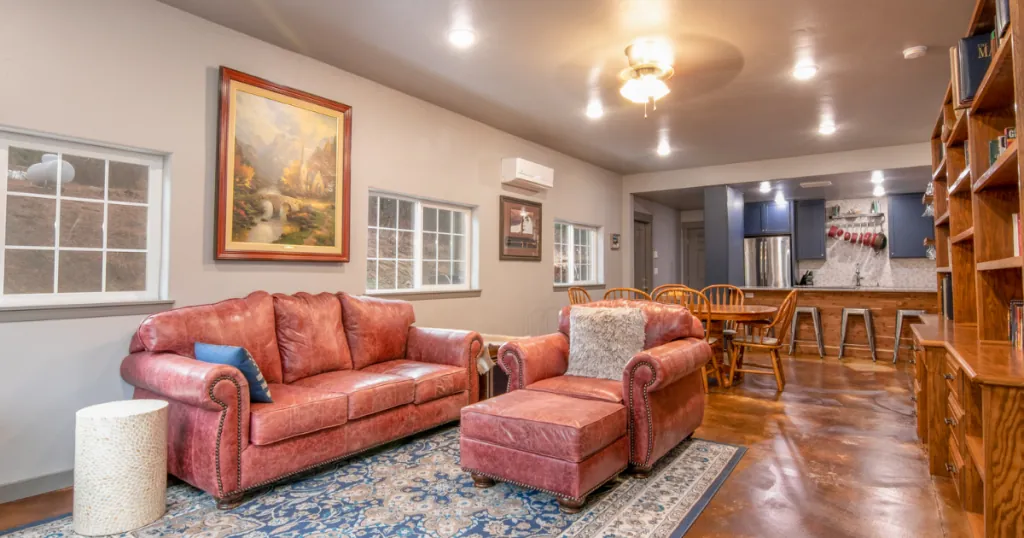
Start by checking what the sofa is made of. Aniline leather is uncoated and soft, and scratches often blend in. Semi-aniline has a thin protective layer. Protected (pigmented) leather has a colored coating, so damage shows as a lighter mark where the color has worn away. Bonded leather has a plastic surface over a base of leather fibers. Our guide to leather sofa types explains how to tell them apart. Many sofas also use vinyl on the sides and back: leather patches and fillers are not designed for those panels, so use a vinyl repair kit there.
| Problem | Usual cause | DIY? | Fix |
|---|---|---|---|
| Light scratch | Claws, buttons, keys | Yes | Buff and condition (aniline) or touch up color (protected) |
| Deep scratch or scuff | Sharp objects, wear | Yes | Flexible filler, then colorant |
| Small tear, cut or hole | Accidents, pets | Yes, up to about 2 in (5 cm) | Backing patch, adhesive, filler, color |
| Long tear or split seam | Stress on cushions or seams | Sometimes | Stitching, or a new panel by a professional |
| Peeling or flaking | Bonded or bicast coating failing | Cosmetic only | Fill and recolor, cover, or reupholster |
| Loose, wrinkled leather | Foam compressed, leather stretched | Yes | Refill or rewrap the cushion |
| Sagging seat | Springs, webbing or frame | Sometimes | Reattach clips, replace webbing, repair frame |
A basic repair kit covers most cosmetic jobs: cleaner and prep solution, flexible filler and adhesive, sub-patch (backing) fabric, colorants, sealer and a palette knife. Add very fine sandpaper (around 600-grit), a sponge and small sharp scissors.
How to fix scratches and scuffs
Aniline and pull-up leather
Light scratches on uncoated leather are often only displaced fibers and oils. Rub the scratch gently with a clean fingertip in small circles; the warmth and natural oils often blend it in. If a mark remains, work in a tiny amount of a conditioner suited to aniline leather, test first in a hidden spot, and buff. Avoid heat guns and hair dryers, which can darken or dry out the leather.
Protected (pigmented) leather
On coated leather, a scratch has usually broken through the color layer, so it needs touching up rather than buffing.
- Clean and prep. Clean the area with a leather cleaner, then wipe with the kit's prep solution to remove oils and silicones. Prep solutions are often alcohol-based, so test them first.
- Lay down raised fibers. Trim loose fibers with small scissors, or glue them flat with a dab of flexible adhesive.
- Fill. For deep scratches, spread a thin layer of flexible filler with a palette knife, let it dry, and repeat until level.
- Smooth. Sand only the dried filler, very lightly, with fine sandpaper, and wipe off the dust.
- Color and seal. Dab on matched colorant with a sponge in thin coats, feathering the edges. Finish with the sealer in the same sheen as the sofa.
Cat scratches across a whole arm are best treated as one area rather than one scratch at a time. If claws are a constant problem, our pet-friendly sofa guide covers materials and habits that help.
How to repair a tear or hole
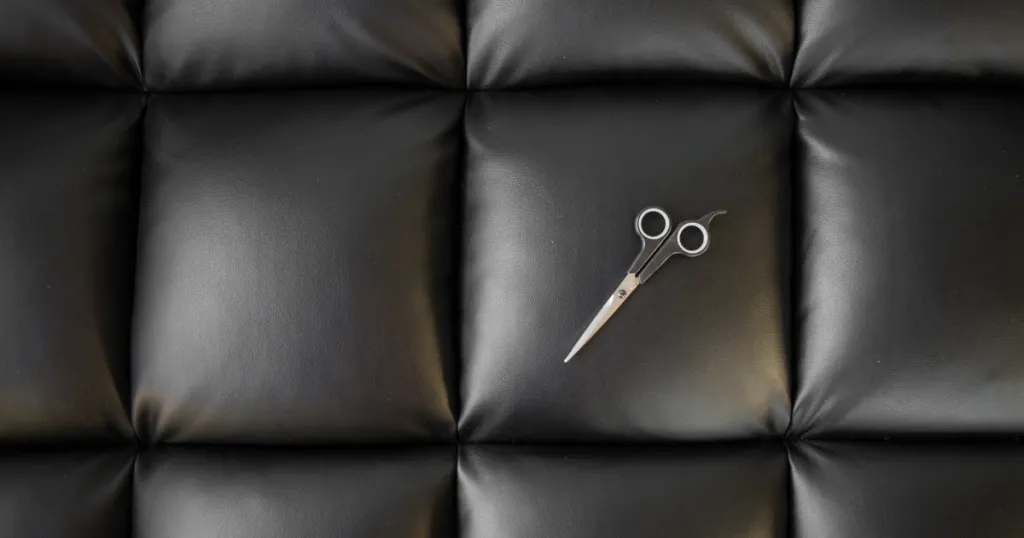
The key to a lasting tear repair is a backing patch: the patch carries the strain, and the filler and color only have to look good. A small tear on a flat panel takes an hour or two of work plus curing time.
- Clean the area. Remove dirt and oils around the tear with a leather cleaner and the prep solution, and let it dry.
- Trim the edges. Snip off loose fibers and ragged bits with small sharp scissors. Cut only what is loose, so the tear does not get bigger.
- Insert a sub-patch. Cut backing fabric about 1/2 in (1.3 cm) larger than the tear on all sides and round the corners. Slide it under the leather with tweezers or a palette knife and flatten it.
- Glue the edges. Spread flexible leather adhesive between the patch and the underside of the leather, then press the edges together so they meet without overlapping. Let it set as the label says.
- Fill in layers. Apply thin layers of flexible filler over the joint, letting each dry, until the surface is level. Thick layers crack.
- Sand lightly. Smooth the dried filler with fine sandpaper, touching as little of the surrounding leather as possible.
- Color and seal. Test the colorant on a hidden spot, then apply thin coats with a sponge and feather them out. Seal to match the original sheen.
- Cure. Keep people and pets off the repair for the full curing time, often about 24 hours.
Holes with missing leather
Small holes can be built up with filler over a sub-patch, as above. For larger holes, glue a piece of real leather behind or over the gap and color it to blend. Upholsterers often take a matching piece from a hidden area, such as under the seat deck, so the grain and color match.
Split seams
Seams that have opened while the leather itself is intact can be stitched. Use a curved upholstery needle and heavy-duty upholstery thread in a matching color, and sew a ladder stitch through the original holes so the repair is almost invisible. If the leather beside the seam has torn, a stitch will simply pull through again, and the panel usually needs professional repair.
Tip: Color matching is the hardest part of any leather repair. Many colorant suppliers will match a small sample cut from a hidden spot, which gives a far better result than mixing by eye.
Fixing peeling and flaking leather
"Peeling" on a leather sofa usually means one of two things. On bonded or bicast leather, the plastic surface layer is separating from the base beneath it. On real protected leather, the colored finish may be wearing off in high-contact areas while the leather underneath is still sound. The second is repairable; the first can only be disguised.
Several factors speed up peeling: direct sunlight, nearby heat sources, very damp or very dry air, harsh cleaning chemicals and solvents, and body oils on arms and headrests.
For small peeling areas, you can improve the look like this:
- Remove loose flakes. Lift away only what comes off easily; pulling at the edges tears more away.
- Feather the edges. Sand the edge of the peeled area very lightly so there is no visible step, and wipe off the dust.
- Prep and fill. Wipe with the prep solution, then apply thin layers of flexible filler over bare patches and sand smooth.
- Recolor and seal. Apply colorant in thin coats over the whole panel, not only the patch, so the sheen is even. Then seal.
On real protected leather, this kind of refinishing can last for years. On bonded leather, new areas will usually keep peeling around the repair, especially on seats. Realistic long-term options are a fitted cover, reupholstering in real leather or fabric, or replacing the sofa. Bonded leather behaves much like faux leather, which our faux leather sofa guide covers in detail.
Fine cracking on real leather is a sign it has dried out. Light cracks respond to the same fill-and-color method, followed by regular care, as described in how to condition a leather sofa.
Fixing loose, wrinkled or puddling leather
Puddling is the loose, wavy leather that forms on seat and back cushions where people sit most. The filling compresses while the leather stretches slightly, so the cover becomes too big for what is inside it. A little puddling is normal on soft leather; deep folds that trap dirt and wear into creases are worth fixing.
- Plump and rotate. Smooth and plump cushions regularly, and rotate or flip them so they wear evenly.
- Add a wrap. Wrapping the existing foam in an extra layer of polyester batting (Dacron) often takes up enough slack to remove the wrinkles.
- Replace tired foam. If the foam stays flat after you press it, replace it with new foam cut slightly oversize, as explained in the restuffing section below.
- Top up fiber-filled cushions. Open the zipper and add polyester fiberfill or cluster fiber to back cushions, working it into the corners first.
- Leave fixed cushions to a professional. Seats and backs that are attached to the frame are refilled from underneath or behind, which involves removing staples and the dust cover.
Avoid: "leather stretchers" and soaking or heating the leather to shrink it. Puddling is caused by leather that is already too loose, so stretching makes it worse, and heat and water can stain, harden or crack the hide.
Fixing a sagging leather sofa
If the whole seat sinks, rather than just the cushions, the problem is underneath. Remove the cushions and press down on the seat deck in several places to find the weak spot.
- Sinuous (zigzag) springs: a spring that has popped out of its clip at the front or back rail can usually be reattached, or the clip replaced and screwed back in place.
- Elastic webbing: webbing that has stretched or snapped can be replaced. It is stapled to the frame under the dust cover.
- Frame: a cracked rail or loose joint causes sagging that no cushion can fix. Glued and screwed corner blocks can repair loose joints, but a broken rail is a job for an upholsterer.
As a temporary fix, thin plywood cut to fit between the deck and the seat cushions spreads the weight and buys time. Our sofa construction guide explains springs, webbing and frames, and how to make a sofa more comfortable has more ideas for firming up a soft seat.
How to restuff leather sofa cushions
Flat cushions make a sofa look tired and feel uncomfortable, and they also cause puddling. Refilling them is one of the most rewarding DIY jobs. You need new foam, polyester batting (Dacron), spray adhesive made for foam, a tape measure, and an electric carving knife or foam cutter.
- Remove the insert. Unzip the cover and ease out the old foam slowly. Never cut a leather cover to reach the filling; if there is no zipper, leave it to an upholsterer.
- Check the old foam. If it is still springy and only slightly flat, a new batting wrap may be enough. If it is crumbly or stays dented, replace it.
- Clean and mend the cover. Vacuum the inside, and repair any small tears now, while you can reach the back.
- Measure. Measure the cover from seam to seam for length, width and height, and use the old foam as a template for shaped cushions.
- Buy and cut foam. For seats, choose high-resilience (HR) foam or a high-density foam, typically at least 1.8 lb per cubic foot (about 29 kg/m³). Cut it about 1/2 in (1.3 cm) larger than the cover in length and width so it fills the cover snugly.
- Wrap it. Glue a layer of polyester batting around the top, front and bottom of the foam with spray adhesive. Batting rounds the edges and fills the corners; staples do not hold in foam.
- Insert the foam. Fold the foam slightly and push it in, or slip it into a thin plastic bag first so it slides more easily, then pull the bag out. Line up the corners with the cover seams.
- Finish and test. Close the zipper, smooth the leather, and sit on it. Push extra fiberfill into any hollow corners.
On sofas with attached seats, the filling is reached from underneath by unstapling the dust cover, then stapling it back taut afterward. There is no fixed schedule for restuffing: good foam typically lasts many years, while low-density foam may flatten within a few. Our guide to how long a sofa lasts explains what wears out first.
DIY or professional, repair or replace?
DIY repair
- Much cheaper than a professional visit
- Fine for scratches, small tears, color touch-ups and cushion refills
- You can take your time and redo a layer if needed
When DIY falls short
- Color matching takes practice and shows on light leather
- Long tears, seams and panel replacement need upholstery skills
- Aniline leather and valuable pieces are easy to make worse
Repair when…
The frame is solid, the leather is top-grain or full-grain, and the damage is limited to a few areas. Even reupholstering a good frame can make sense.
Replace when…
Bonded leather is peeling across several cushions, the frame is broken on an inexpensive sofa, or the combined repairs approach the price of a new sofa. See how to get rid of an old sofa for responsible disposal.
Afterward, protect the repair: keep the sofa out of direct sun and at least 2 ft (60 cm) from radiators and heating vents, clean with leather-safe products only, avoid sitting on the arms and backrest, and keep pets' nails trimmed.
Frequently asked questions
Can I repair a leather sofa myself?
Yes, for most cosmetic damage: scratches, scuffs, small tears and holes, light peeling and flat cushions. Long tears, split seams with damaged leather, broken frames and valuable aniline pieces are better handled by a professional.
Can peeling leather be repaired?
If the colored finish on real leather is wearing off, it can be filled, recolored and sealed. If the sofa is bonded or bicast leather, the surface coating is separating and will keep peeling, so repairs are only cosmetic.
What glue should I use on a leather sofa?
Use a flexible adhesive made for leather repair, usually included in repair kits. Superglue and other rigid glues set hard, crack when the leather flexes, and can leave a stiff, visible line.
Can I use a leather repair kit on vinyl?
It is better not to. Many sofas use vinyl on the sides and back, and leather fillers and colorants may not bond well to it. Use a kit made for vinyl and faux leather on those panels.
How do I stop puddling on my leather sofa?
Plump and rotate the cushions regularly, and add filling when the leather starts to wrinkle: an extra batting wrap, new foam or more fiberfill. Stretching or heating the leather makes the problem worse.
A repaired leather sofa lasts longest with steady care, so pair any fix with the routine in our leather conditioning guide. For everything else, from types to cleaning, start at the leather sofa hub.
 How to Clean a Leather Sofa Without Damaging ItStep-by-step leather sofa cleaning: identify your leather, weekly care, deep cleaning, safe disinfecting, what never to use and how often to clean.
 Leather Sofa Stain Removal: Oil, Ink, Water, Gum, Odors and MoldHow to remove oil, ink, water marks, gum, blood and urine from a leather sofa, get rid of odors and mildew safely, and know when to call a pro.
 White Leather Sofa Care: Cleaning, Dye Transfer and YellowingWhite leather sofa care: weekly cleaning, removing dye transfer from jeans, preventing yellowing, treating stains and protecting the finish.
 How to Condition a Leather Sofa and Restore Dry, Faded LeatherHow to condition a leather sofa: how often, which conditioner suits each leather type, the truth about beeswax and oils, and how to revive faded leather.